Why it matters
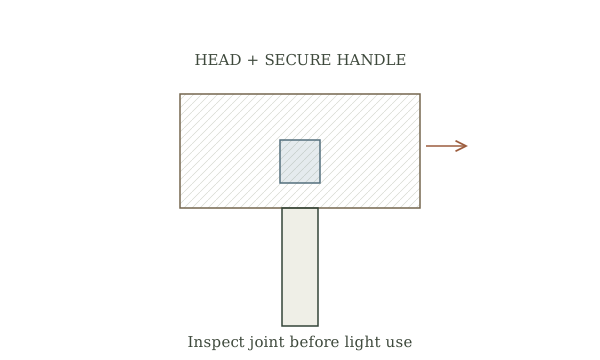
A wooden mallet spreads a blow over a broad face and is useful when a metal hammer would mar a handle or assembly. The head-to-handle connection is the safety-critical part; an attractive head is not useful if it can fly free.
What you’ll need
Tools
- Square
- Hand saw
- Clamp
- Plane or rasp
- Eye protection
Materials
- Sound dry wood
- Maker-approved handle and head joint plan
Before you begin
Safety & limits
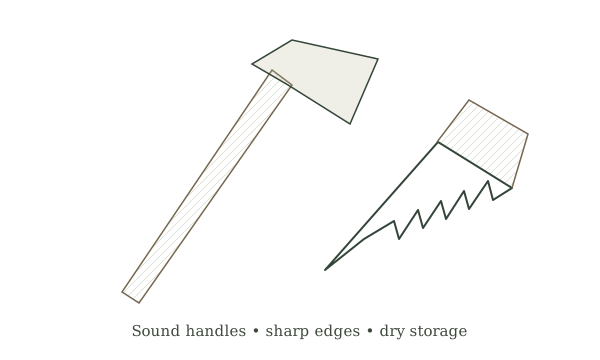
- Use a known woodworking plan and sound stock. Do not improvise a loose head, cracked handle or makeshift wedge.
- Keep bystanders clear during test taps. This mallet is for light hand-tool work, not demolition, metal striking or driving steel wedges.
Work carefully, in order
The method
- 01
Select a suitable plan
Choose a published project plan that specifies the joint, wood selection and intended use. Read it fully before cutting. Record the needed head and handle parts from the actual stock, checking for cracks, knots and excessive twist.
- 02
Mark from a datum
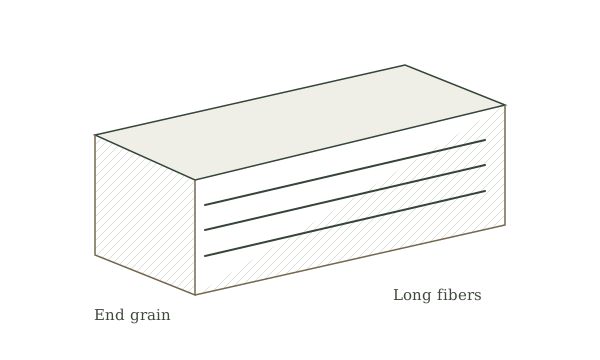
Mark each part from a reference face and edge, including grain direction and the striking faces. Dry-lay the pieces in the intended orientation. A grain pattern that looks attractive may put a crack or weak short grain at the handle opening.
- 03
Shape and fit safely
Secure each part and use the plan’s hand-tool sequence for sawing, planing and fitting. Remove small amounts and test the head-to-handle fit often. Do not force a handle into a tight opening that begins to split.
- 04
Finish the surfaces
Ease sharp corners while preserving broad, even striking faces. Follow the plan’s connection method and finish instructions, allowing any adhesive the specified cure time. Avoid slick finish on the handle where grip matters.
- 05
Inspect before use
With others clear, try a few light taps against scrap on a stable bench. Stop if the head shifts, the handle flexes unexpectedly or cracks appear. Reinspect before each later use and retire damaged parts rather than binding a loose head with tape.
Mistakes to avoid
- Using knotty or cracked stock at the head joint
- Testing a newly joined mallet at full force
- Treating a light mallet as a steel hammer
If it isn’t working
Head creeps on the handle
Stop using it and check the approved joint design and material condition before repair.
Face chips quickly
Check grain and stock suitability; replace the head using a suitable project plan.
Then & now
Historical context
Craft workers made mallets from available hardwood and renewed worn faces or handles as needed.
The modern equivalent
Commercial mallets provide known construction and replaceable options for specific tasks.
Sources & review
Editorial draft — specialist review pending. Written 2026-09-28. Sources support the stated scope; this page has not been professionally certified.
- Oregon State University Extension — 4-H Wood Science Leader Guide ↗
Woodworking projects, tool selection and teaching practices. Checked 2026-09-28.
- USDA Forest Products Laboratory — Wood Handbook ↗
Wood moisture, grain, properties, joints and fastening in context. Checked 2026-09-28.
- Occupational Safety and Health Administration — Hand and Power Tools ↗
Hand-tool hazards and safe tool condition. Checked 2026-09-28.