Why it matters
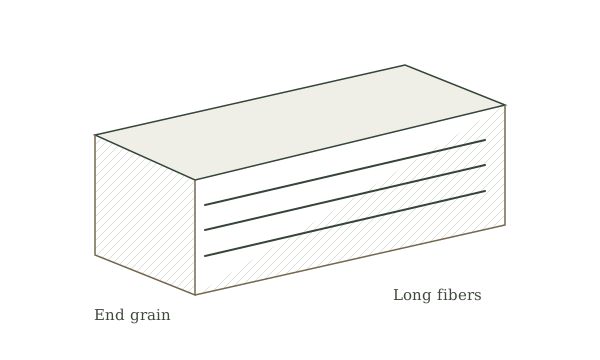
A plane removes a thin shaving while referencing its sole against the wood. Grain direction, blade projection and support all affect the result. The first aim is a controlled flat test surface, not a dimensioned furniture component or a substitute for a jointer.
What you’ll need
Tools
- Sharp hand plane
- Bench stop or clamp
- Straightedge
- Eye protection
Materials
- Sound, dry scrap board
Before you begin
Safety & limits
- Secure the board. Keep fingers clear of the mouth and never test sharpness with a fingertip. Retract or cover the blade for storage.
- Avoid unknown reclaimed stock with nails, coatings or treatment. Collect shavings and control wood dust; stop if the tool chatters or the work shifts.
Work carefully, in order
The method
- 01
Inspect plane and stock
Check that the blade and cap are secured according to the plane maker, the sole is clean and the blade is set for a fine cut. Sight along the board for grain and look for fasteners or embedded grit. Choose a sound scrap piece.
- 02
Secure the board
Use a bench stop or clamps that do not obstruct the stroke. Stand with a clear path for the plane and keep the other hand away from the cutting path. Test the restraint with the plane above the board before making a cut.
- 03
Take a fine trial pass
Start with light pressure over the front of the plane, then shift pressure toward the rear as it leaves the board. Work with the apparent grain where possible. Watch the shaving and listen for chatter; do not force the plane through resistance.
- 04
Read the surface
Check for tear-out, high spots and a tapered end with a straightedge and raking light. Reverse or skew the direction only within the maker’s handling guidance if grain changes. A fine shaving does not by itself prove the surface is flat.
- 05
Repeat and maintain
Make short controlled passes on high spots, checking frequently rather than removing a large amount at once. Stop when the test surface is acceptably even for this exercise. Retract the blade, clear shavings and store the plane dry.
Mistakes to avoid
- Using blade projection to compensate for dullness
- Planing unsecured stock
- Assuming smoothness means flatness
If it isn’t working
Grain tears out
Try a finer setting and safer grain direction on scrap; inspect blade sharpness and the wood grain.
One end becomes tapered
Review pressure transfer at start and finish and use the straightedge between passes.
Then & now
Historical context
Hand planes shaped stock long before powered mills; workers still use them for quiet, local fitting and understanding grain.
The modern equivalent
A thickness planer speeds batch work, but does not replace secure setup or grain awareness.
Sources & review
Editorial draft — specialist review pending. Written 2026-09-28. Sources support the stated scope; this page has not been professionally certified.
- Oregon State University Extension — Working with Wood & Tools ↗
Hand-tool practice, measuring, marking and safe work habits. Checked 2026-09-28.
- USDA Forest Products Laboratory — Wood Handbook ↗
Wood moisture, grain, properties, joints and fastening in context. Checked 2026-09-28.
- Occupational Safety and Health Administration — Hand and Power Tools ↗
Hand-tool hazards and safe tool condition. Checked 2026-09-28.