Why it matters
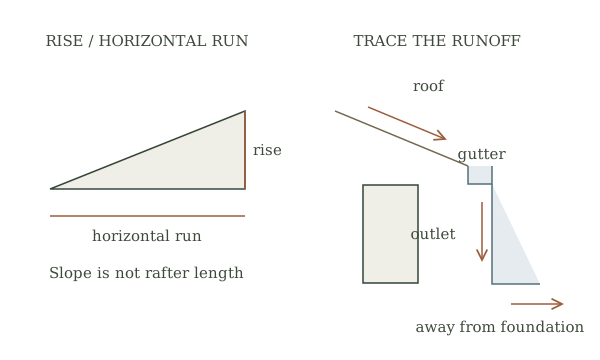
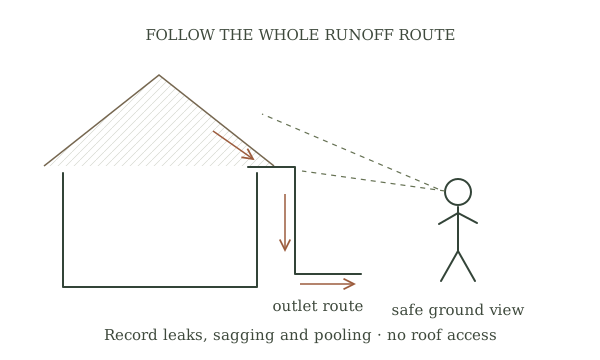
A gutter is part of a roof-to-ground drainage route. An apparently clear channel can still discharge water beside the foundation or leak at a joint. Following the whole route makes observations more useful than concentrating on leaves alone.
What you’ll need
Tools
- Binoculars or camera zoom
- Notebook
- Site sketch
Materials
- Dry-weather inspection checklist
- Existing drainage maintenance records
Before you begin
Safety & limits
- This is a ground-level inspection. Do not climb ladders or roofs, reach beneath loose gutters, work near overhead wires, or inspect outdoors in lightning, strong wind or ice. Cleaning, repairs and inaccessible sections need a competent contractor with appropriate access equipment.
Work carefully, in order
The method
- 01
Choose a safe viewing route
In calm dry weather, walk accessible ground around the building. Mark places where uneven ground, vehicles, power lines or loose material prevent observation. Use camera zoom from a safe position rather than climbing for a closer view. Keep away from a sagging section that might fall.
- 02
Trace each roof collection area
Sketch which roof areas feed each visible gutter and downspout. Note valleys, roof-wall junctions and places where water could overshoot or run down the siding. Mark hidden areas as unobserved. A sketch is an inspection record, not a calculation of required gutter size or attachment strength.
- 03
Look for visible defects
Record apparent sagging, separated joints, corrosion, loose brackets, vegetation or debris visible from below. Look for staining on fascia and walls and splash marks below joints. Photograph the location with a wider view for orientation. Do not poke or pull at a damaged hanging section.
- 04
Follow the outlet route
From accessible ground, follow each downspout to its discharge point. Note disconnected extensions, pooling, erosion and water directed toward the building or a walkway. Keep observations distinct from proposed alterations; discharge changes need to account for soil, neighbouring property and local drainage rules.
- 05
Observe rain only when safe
During ordinary rain without lightning or dangerous wind, observe from a sheltered safe position. Note overflowing sections, joint leaks and pooling at the outlet. Do not move into floodwater or stand under loose components. The pattern helps a contractor distinguish blockage, alignment, capacity and flashing problems.
- 06
Arrange work and recheck
Give the photographs and route sketch to a competent contractor for cleaning or repair. Ask for the cause and an appropriate discharge plan rather than only resealing a wet joint. Recheck from ground after the work and the next safe rainfall. Repeat observation after storms and seasonal leaf fall.
Mistakes to avoid
- Climbing to complete a ground inspection
- Ignoring where the outlet discharges
- Changing runoff without considering neighbouring land
If it isn’t working
Overflow occurs at one location
Record the roof area and rainfall pattern and ask for assessment of blockage, alignment and capacity.
Water pools beside the building
Arrange drainage assessment; do not dig a new route without checking services and site impacts.
Then & now
Historical context
Eaves channels and downpipes collect roof runoff. Current drainage planning coordinates them with flashing, ground conditions and an appropriate discharge route.
The modern equivalent
A documented roof-drainage inspection followed by appropriately accessed maintenance and site-specific runoff planning.
Sources & review
Editorial draft — specialist review pending. Written 2026-10-05. Sources support the stated scope; this page has not been professionally certified.
- Building America Solution Center — Gutters and Downspouts ↗
Roof runoff collection and discharge away from the building; indexed source guidance supports the drainage relationships, not a site-specific design. Checked 2026-10-05.