Why it matters
Wax can change gloss and color while offering limited protection. A finish already on the surface determines whether wax belongs there; the first useful skill is reading that surface before applying anything.
What you’ll need
Tools
- Soft lint-free cloth
- Small brush for dust
Materials
- Commercial beeswax furniture polish labeled for the surface
- Unimportant test board or ordinary furniture
Before this skill
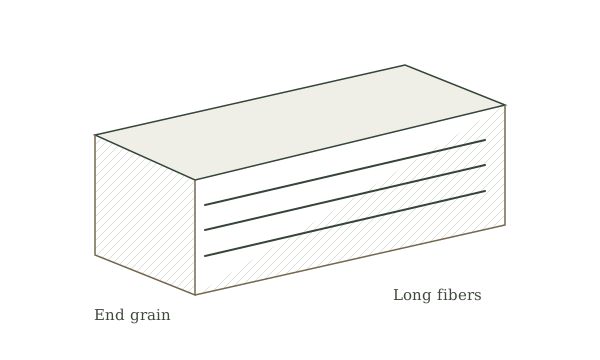
- wood-grain
Before you begin
Safety & limits
- Read the manufacturer's label and avoid solvent mixing or heating wax. Test in a discreet place; leave antiques and unknown finishes to a conservator.
Work carefully, in order
The method
- 01
Identify the existing finish
Inspect an ordinary dry piece of wood for paint, lacquer, oil, wax or bare wood. Read care instructions if available. Do not add wax to a valuable, painted, food-contact or floor surface without a finish-specific recommendation.
- 02
Clean without soaking
Remove loose dust with a soft dry cloth. If the surface is sticky, flaking or damaged, stop and diagnose the old finish before covering it with a new layer.
- 03
Test a small area
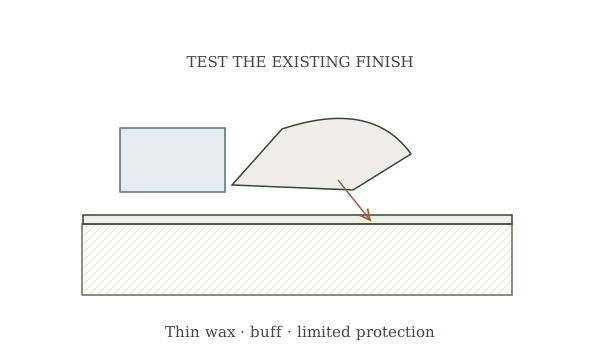
Follow the commercial product label on a hidden patch using a very small amount. Let it settle as directed, then check for darkening, smearing and unwanted gloss.
- 04
Apply thinly and buff
Only if the test suits the surface, spread a sparing even coat with a clean cloth and buff after the labeled interval. Keep wax out of joints and carvings where it can collect dirt.
- 05
Record upkeep
Note the product and date. Clean gently and repeat only when the surface actually needs it; wax is not a waterproof or heatproof barrier.
Mistakes to avoid
- Putting wax over an unknown failing finish
- Using a thick sticky coat
- Treating wax as waterproofing
If it isn’t working
Surface feels tacky
Stop layering. Consult the product directions for excess removal and test the method discreetly.
Color darkens
Do not treat the full object; select a compatible finish after testing.
Then & now
Historical Method — Modern Safety Practices Differ
Historical context
Historical Method — Modern Safety Practices Differ. Waxed furniture is familiar in older households, but old recipes with turpentine or hot wax are not necessary for a beginner test.
The modern equivalent
A labeled commercial finish matched to the surface can provide specified moisture or wear resistance.
Sources & review
Editorial draft — specialist review pending. Written 2026-09-29. Sources support the stated scope; this page has not been professionally certified.
- Canadian Conservation Institute — Care of Furniture Finishes ↗
Wax types, compatibility, application limits and maintenance of furniture finishes. Checked 2026-09-29.
- Canadian Conservation Institute — Basic care of furniture and wooden objects ↗
Preventive protection and consultation for valuable or historic objects. Checked 2026-09-29.